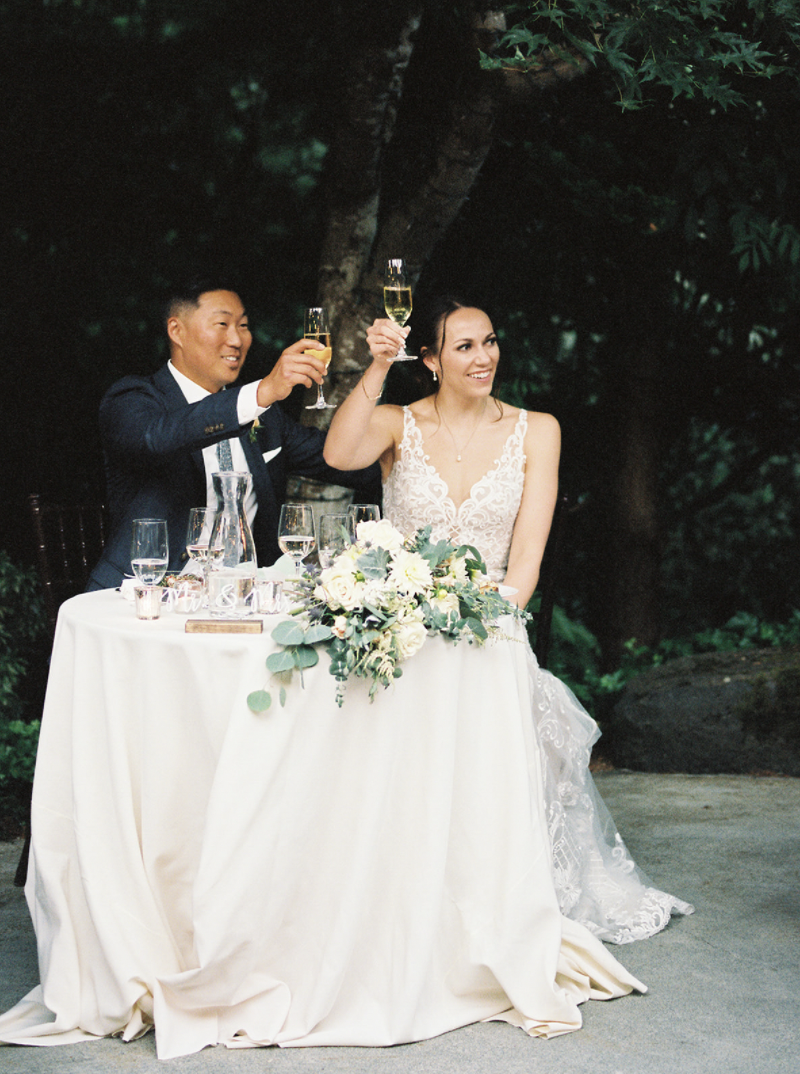
Editing With Integrity
In response to this NBC News article regarding whitewashing in wedding photography editing, I’m opening up dialogue about the root cause of this problem and ways to help end it. One big pillar of my responsibility as a photo editor is to edit with integrity and to provide education to my clients so they understand what goes on behind the scenes.
We need to stop pointing fingers at influencers or shouting into the void of social media culture.
How did we get here?
The finished product of an edited photograph is the sole responsibility of the photographer. Lack of technical training and education on truly understanding how editing software works is the foundational problem. Most wedding photographers are self-taught artists and self-taught business owners.
Editing is one facet of being a wedding photographer that gets glossed over for two reasons:
Adobe Lightroom Classic is easy to use and can provide you with your desired outcome without needing to understand every single function of the program.
Presets and Profiles with done-for-you settings that boast a one-click editing workflow. While these save time, they can also hinder a photographer’s understanding of what goes into an edit and how to make adjustments.
How do we fix it?
Editing education! Specifically, understanding different ways to achieve one look. The biggest problem with whitewashing is the “bright and airy” “influencer white filter” that’s referenced in this article. This look is achieved by editing a photo with an emphasis on bright exposure and “creamy” skin tones.
How can you achieve a bright exposure while staying true to your client’s skin tones?
Masking! This may take some time but will ensure that the subject of the photograph is not impacted by the editing that’s done to the rest of the image. Lightroom has made masking super easy with the latest update, so there’s no excuse to not implement this!
Adjust your editing to fit each wedding day. Whitewashing people of color isn’t the only consequence of not knowing how to edit. Clients with particularly pale/blue undertones to their skin, or couples with mixed “white” skin tones can all end up looking wrong if you’re not careful with your editing. The HSL panel will be your best friend here to adjust for each orange, red, yellow, and/or magenta color in skin.
Know how to achieve the same look with different tools and find the best one for those clients. A bright exposure can be achieved through many means, not just the Exposure slider. Experiment with Highlights, Shadows, Tone Curve, Contrast, Luminance on HSL, and Calibration. Ultimately, sooo many things impact exposure that you really can get the look you want while respecting your clients.
Looking for some guidance with your edits? I offer one-on-one video screen-share calls where I guide you into perfecting your edits!


