
Mastering Natural Backlight
✨ 3 tips for photographing backlit portraits ✨
I’m here to help you feel prepared for less-than-ideal lighting situations.
This blog post will walk you through the three things to keep in mind when photographing in backlit scenarios that will ensure you get the cleanest edits possible.
Tip #1 Learn how to read your histogram
Tip #2 Expose for the highlights
Tip #3 Don’t push your ISO
Disclaimer: These tips are for RAW files only and admittedly will work best with professional camera bodies and lenses. These tips only apply to natural light photography and don’t take into consideration using light modifiers (reflectors) or artificial light (flash).

Learn How To Read Your Histogram
Consider your histogram a visual representation of all of the data in your digital photo. Your histogram is important because it tells you if you’re clipping your highlights or shadows. Rule of thumb for always but especially for backlit portraits: don’t clip!
Clipping means there is NO data available, your shadows or highlights will just be crunchy, flat digital noise.
You can easily check your histogram on-location, most cameras will display any clipping in a histogram or with a blinking overlay in your playback/display mode.

This is a screenshot from Lightroom’s Histogram panel.
Make sure you know how to access your histogram from your camera’s playback menu so you’re prepared on location!
Expose for the Highlights
This image is the perfect example of how to expose for extremely backlit portraits. The trick is to expose for the highlights WITHOUT clipping the shadows.

Clicking on the two triangles on either side of the histogram will reveal what parts of the image are clipping. That means there is 0 data to pull from.
Note there is NO clipping in the shadows and minimal clipping in the highlights. This is ideal and can only be done in-camera, you cannot bring pixels back that have been clipped.
Don’t let a seemingly underexposed RAW file make you nervous, the original photo might look like a silhouette but if it’s properly exposed and you have professional gear, you can get so much out of an edit!
I was able to pull lots of detail from the shadows while still keeping the beach in the background. If this photograph was exposed for the couple, the entire background would be completely white.

Mind your ISO

Here’s a closer look at the settings for our example image.
Don’t be tempted to push your ISO to its limits, backlit photos are extremely susceptible to digital noise so try to keep your ISO as low as possible and use your aperture and shutter speed to adjust your exposure.
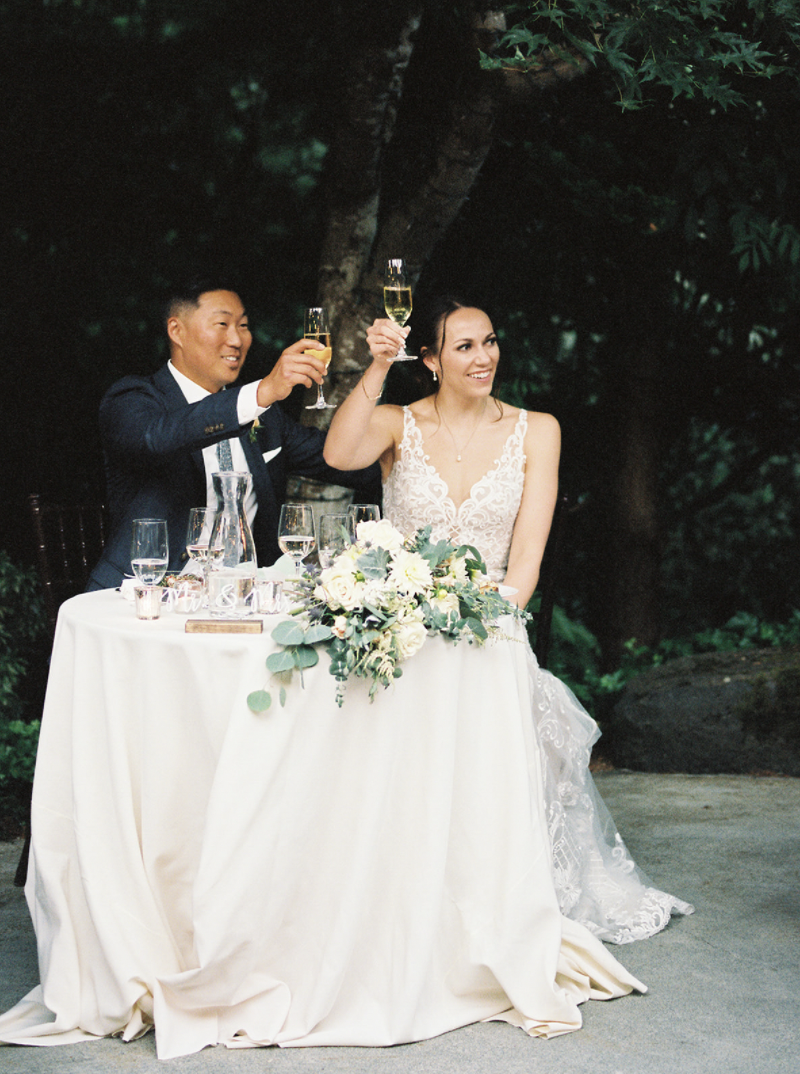
Here’s a less extreme example of a backlit portrait exposed properly.


